ARCHI
PORTFOLIO BY LYNETTE LAW

PROJECT 1 : MODELLING OF AN ARCHITECTURAL DESIGN
WORK IN PROGRESS

Before the image (plan) is imported in Autocad, decimal point is changed to 0.0 for precision.

Both ground and first floor plans are traced by using spline tool.

Before the image (plan) is imported in Autocad, decimal point is changed to 0.0 for precision.
Rendered Images without lightning and material
WORK IN PROGRESS


PROJECT 2 : STILL RENDERINGS
EXTERIOR RENDERING
WORK IN PROGRESS

Select the camera button > select VrayPhysicalCam

Hold and drag to the position of preferred view to be rendered > Position of camera is adjusted to the distance I wanted it to be
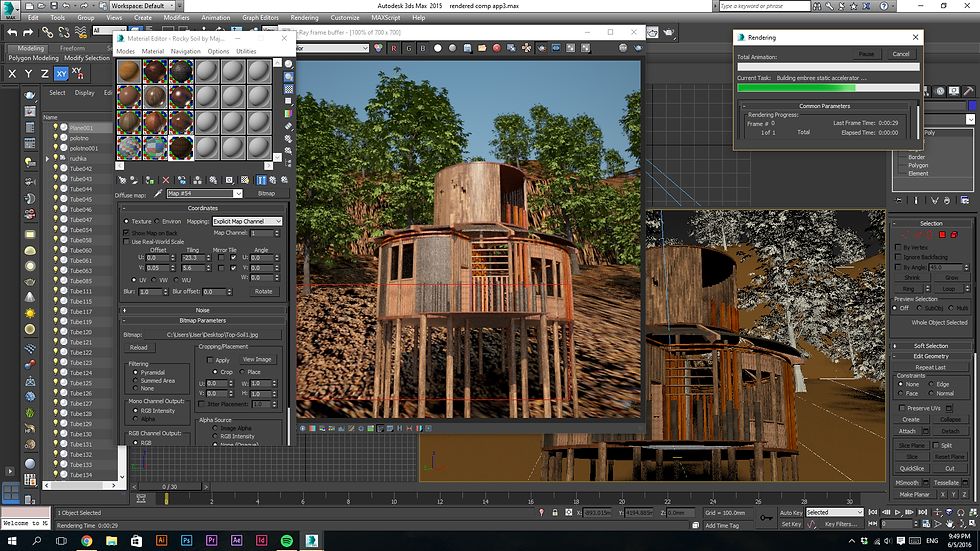
Select the camera button > select VrayPhysicalCam
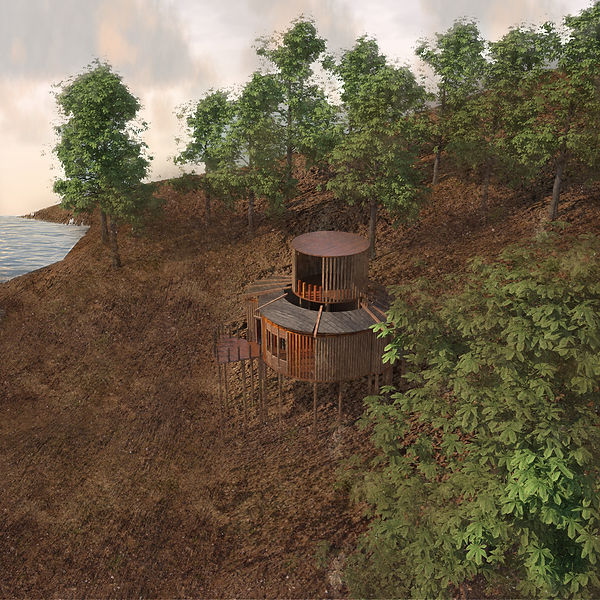
FINAL RENDER


POST PRODUCTION

Photoshop is used to enhance the texture of contour, add in sea, sky and grass. I desatured the color and opacity of grass to make it blend in to the ground
FINAL RENDER AFTER PHOTOSHOP


INTERIOR RENDERINGS
WORK IN PROGRESS

Furnitures are downloaded from archive 3D > go to import > MERGE> select 3Ds max file of furniture

Select 'all' of the grouped furniture 3Dsmax file

the type of light is then change to DISC TYPE for a more natural setting, radius of the light is increase for the light coverage to be bigger
Furnitures are downloaded from archive 3D > go to import > MERGE> select 3Ds max file of furniture
TEST RENDERS

Test rendering without adding the material of furniture yet.

Intensity multiplier 3.0 : certain parts are too dark.

Intensity multiplier 5.0 and adjusted vray sun position
FINAL RENDERINGS


POST PRODUCTION
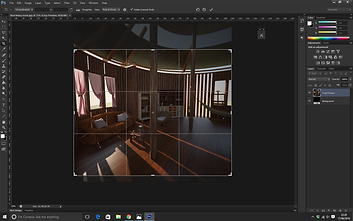


Image is cropped > brightness, saturation and contrast are adjusted > sky and sea are edited into the image by reducing the opacity and using eraser tool to clean it.

Final render after photshopped.

Added lens flare into rendering.

Final render after photoshop
PROJECT 3 : ANIMATION
WORK IN PROGRESS

After setting Vray cam to selected view, by using NURB CURVES to create a pathway for the camera or target to move.

Using Path Constraint in Animation tab, select either the camera or target to the path created.

After setting Vray cam to selected view, by using NURB CURVES to create a pathway for the camera or target to move.